Project File
Mini Wireless Repeater
A compact WiFi range extender built around the ESP8266 Wemos D1 Mini with an external antenna mod for significantly improved range — perfect for extending network coverage to dead zones.
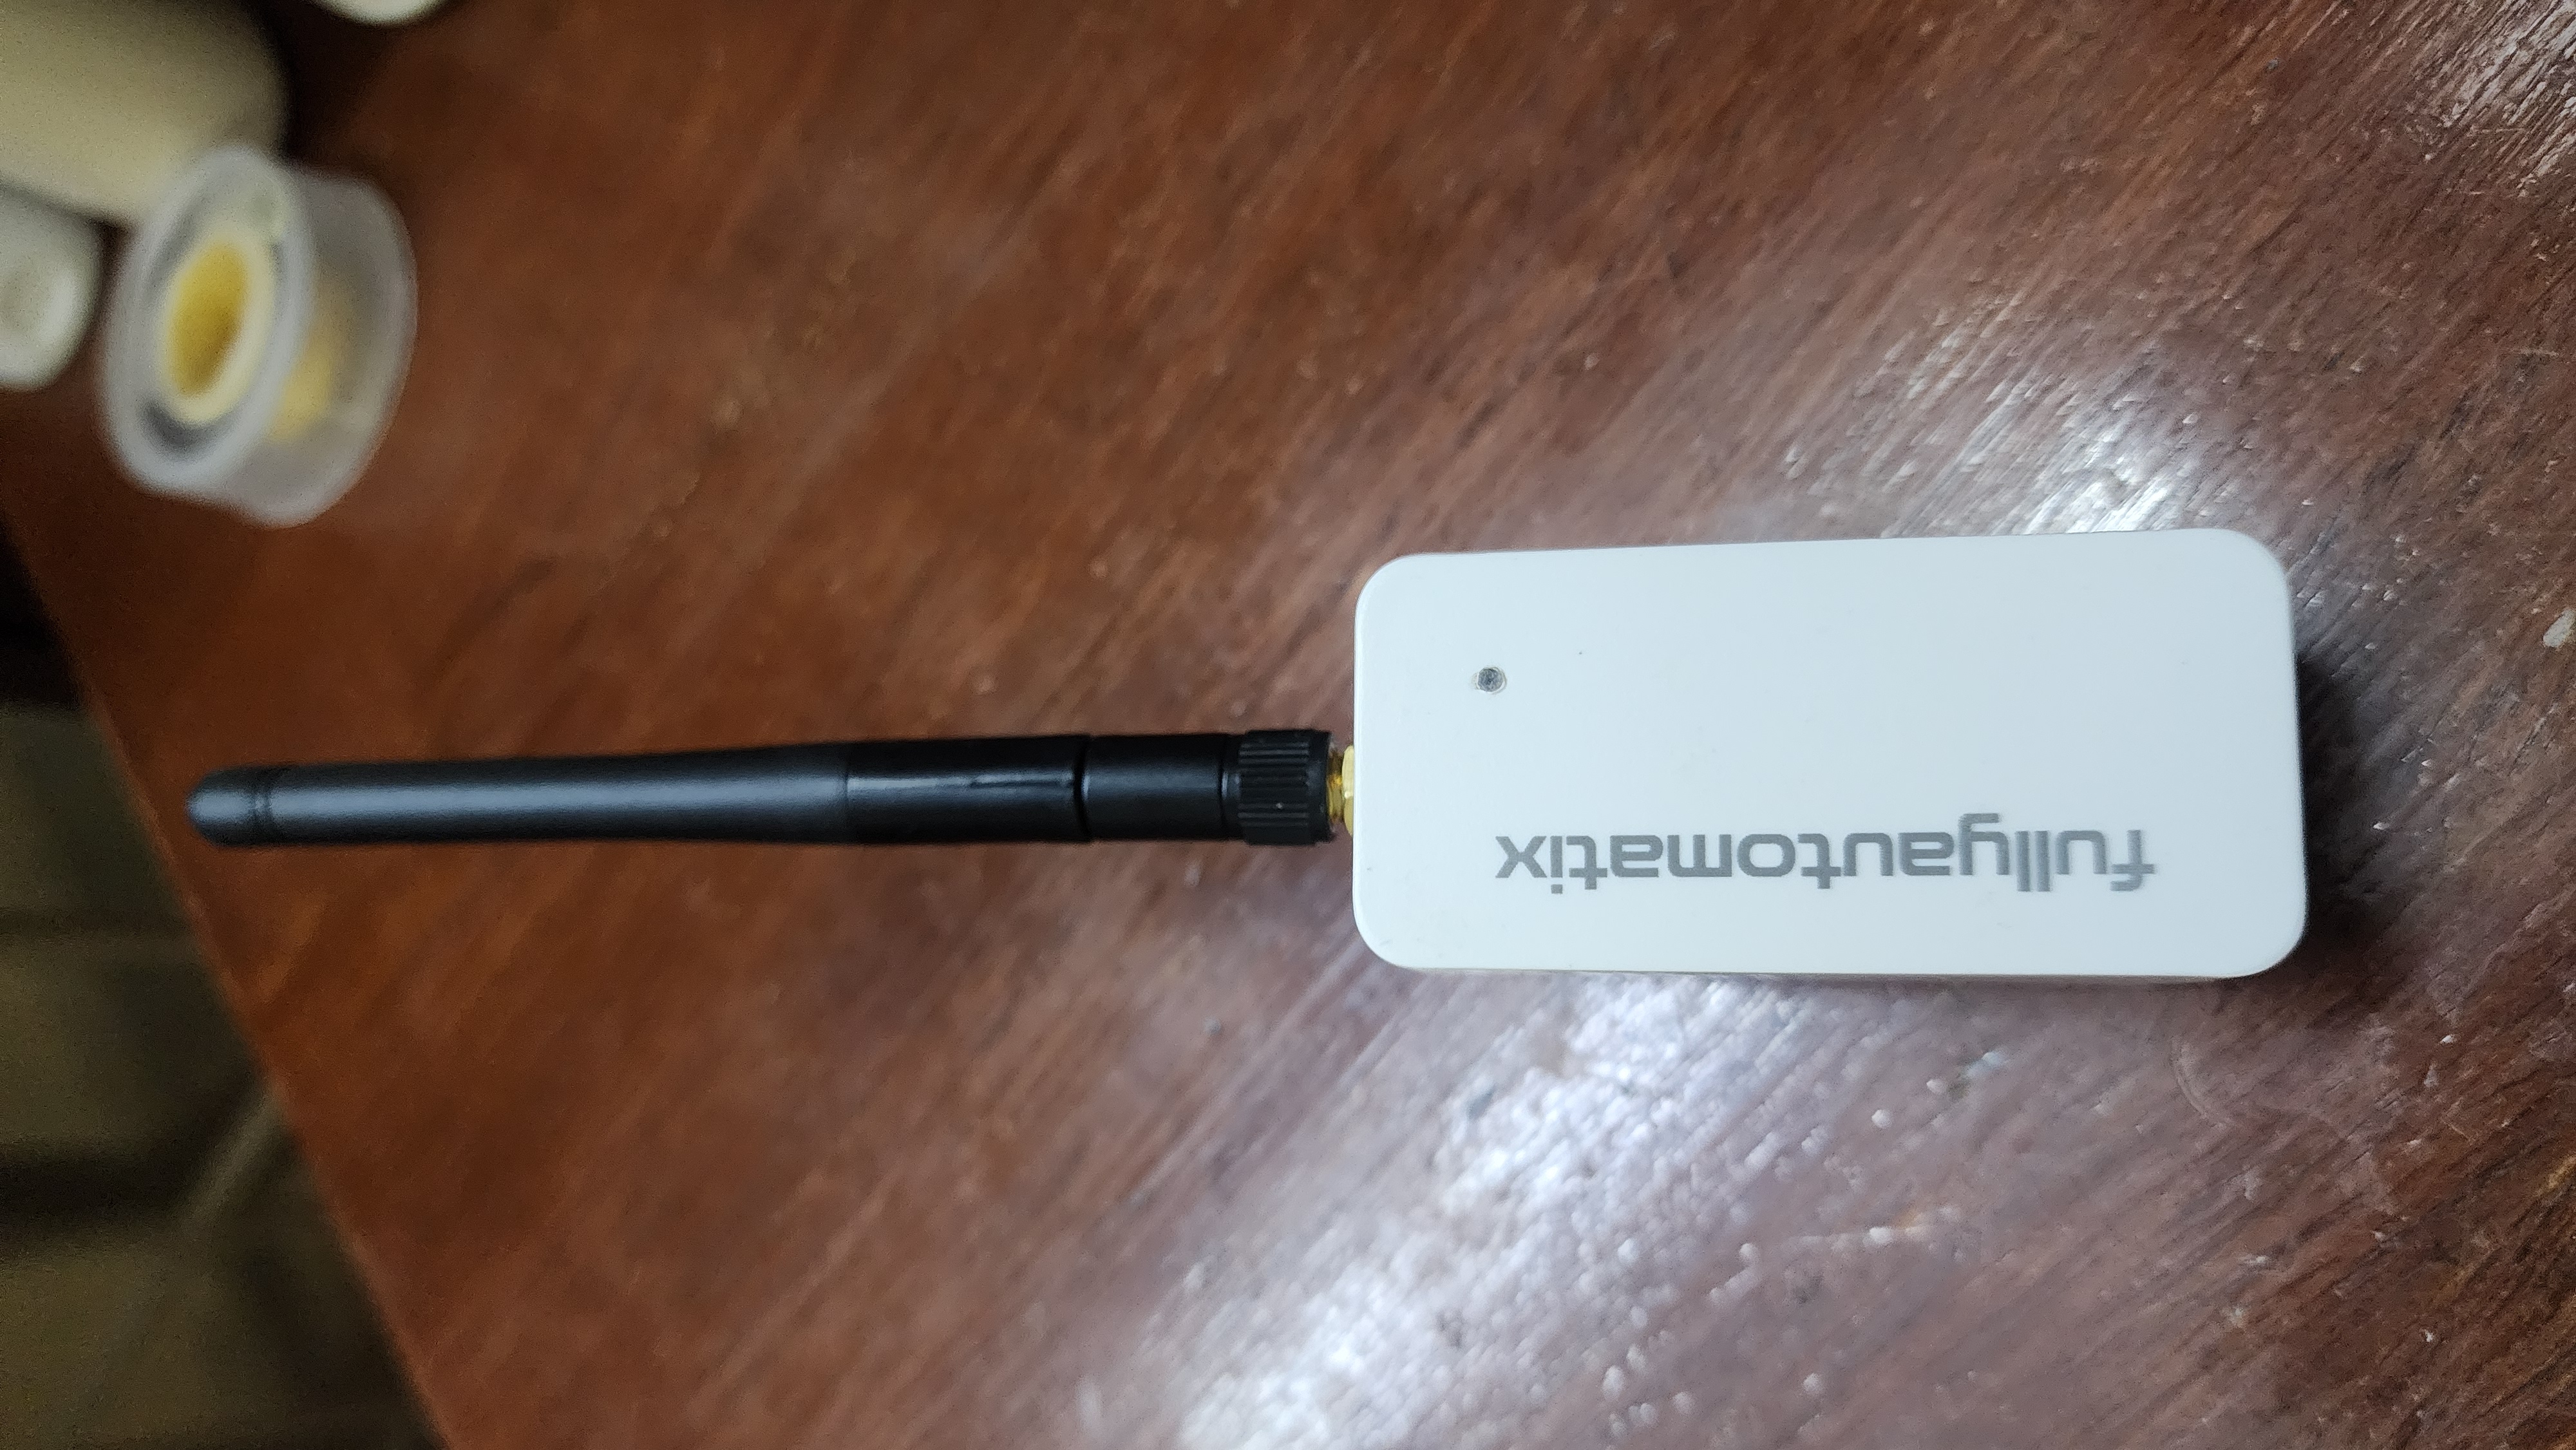
Build Summary
This wireless repeater uses the beloved ESP8266 Wemos D1 Mini — the same versatile microcontroller featured in our favorite gear collection. What makes this build special is the external antenna modification, which dramatically improves range compared to the stock PCB antenna.
The D1 Mini’s built-in WiFi capabilities make it perfect for this application. It connects to your existing network and rebroadcasts the signal, effectively doubling your coverage area. The addition of an external antenna with U.FL connector transforms it from a basic repeater into a serious range-extending tool.
- ESP8266 Wemos D1 Mini microcontroller with built-in WiFi (802.11 b/g/n)
- External 2.4GHz antenna with U.FL connector for enhanced range
- Auto-configuration web interface for easy setup
- Signal strength monitoring and diagnostics
- Low power consumption (~80mA typical operation)
- Compact 3D-printed enclosure with antenna mount
- Web-based management console for network settings
Why the D1 Mini?
The Wemos D1 Mini is one of my absolute favorite microcontroller boards (see the full writeup here), and it’s perfect for this project:
- Built-in WiFi — No need for external WiFi modules. Everything you need is onboard.
- Arduino-compatible — Easy to program with familiar tools and tons of example code.
- Tiny footprint — 34mm × 25mm makes it easy to fit in a small enclosure.
- Affordable — At $2-4 per board, you can build multiple repeaters without breaking the bank.
- Active community — Loads of WiFi repeater firmware options available (ESP_WiFi_Repeater, ESPHome, etc.)
External Antenna Modification
The stock D1 Mini uses a PCB trace antenna, which works fine for short-range applications but limits performance for a repeater. By adding an external antenna:
- Range improvement: 3-5x increase in effective coverage area
- Better signal penetration through walls and obstacles
- Directional options — Point the antenna for optimal coverage
- Flexibility — Position the antenna away from interference sources
Mod Process:
- Carefully remove the surface-mount 0Ω resistor that connects the PCB antenna
- Solder a U.FL (IPEX) connector to the external antenna pads on the D1 Mini
- Connect a 2.4GHz external antenna with RP-SMA or similar connector
- Mount the board in an enclosure with an antenna bulkhead pass-through
Technical Specs
| Feature | Specification |
|---|---|
| Microcontroller | ESP8266 Wemos D1 Mini (ESP-12F) |
| WiFi Standard | 802.11 b/g/n, 2.4 GHz |
| Antenna | External 2.4GHz (3dBi - 5dBi) with U.FL connector |
| Range (approx) | 100-200m line-of-sight (with 5dBi antenna) |
| Power Input | 5V micro-USB or 3.3V direct |
| Power Consumption | ~80mA typical, 170mA peak |
| Supported Modes | AP+STA (repeater), AP (access point), STA (client) |
| Web Interface | Built-in configuration portal |
| Firmware Options | ESP_WiFi_Repeater, ESPHome, Tasmota |
| Enclosure | Custom 3D-printed ABS with antenna mount |
| Typical Cost | USD 8-12 (D1 Mini + antenna + enclosure) |
How It Works
The repeater operates in AP+STA mode (Access Point + Station):
- Station Mode: Connects to your existing WiFi network as a client
- Access Point Mode: Simultaneously creates its own WiFi network with extended range
- Traffic Routing: Bridges traffic between the two networks transparently
- DHCP Relay: Forwards DHCP requests to your main router for seamless integration
Setup Process:
- Flash the D1 Mini with WiFi repeater firmware (Arduino sketch or ESPHome)
- On first boot, it creates a setup access point
- Connect to the setup AP and configure your source network credentials
- Set the repeated network name (SSID) and password
- Reboot — the repeater connects and starts broadcasting
Firmware Options
ESP_WiFi_Repeater (Recommended):
- Dedicated repeater firmware with web interface
- Signal strength monitoring
- Easy web-based configuration
- GitHub: martin-ger/esp_wifi_repeater
ESPHome (Home Assistant Integration):
- YAML configuration for repeater mode
- Integrates with Home Assistant for monitoring
- OTA updates and remote management
Custom Arduino Sketch:
- Full control over behavior
- Can add custom features (LED indicators, display, etc.)
- Good learning opportunity for ESP8266 networking
Antenna Recommendations
For Indoor Use:
- 3dBi rubber duck antenna — Omnidirectional, compact, works well through walls
- 5dBi whip antenna — Better range, slightly larger
For Outdoor/Directional:
- 9dBi panel antenna — Directional, great for point-to-point links
- 14dBi yagi antenna — Maximum range, highly directional
Connection: All antennas need RP-SMA or SMA connector, with a U.FL pigtail cable to connect to the D1 Mini.
Enclosure Design
The 3D-printed enclosure features:
- Ventilation slots for passive cooling
- Mounting holes for DIN rail or wall mounting
- Antenna bulkhead connector for secure mounting
- Micro-USB access port for power and programming
- Status LED light pipe
- Dimensions: 60mm × 40mm × 25mm (fits easily in any location)
Performance Notes
Real-World Testing:
- Indoor range (through walls): 30-50m typical with 3dBi antenna
- Outdoor line-of-sight: 100-200m with 5dBi antenna
- Throughput: 10-15 Mbps typical (limited by ESP8266 CPU, not antenna)
- Latency: +5-10ms compared to direct connection (negligible for most use cases)
Best Practices:
- Position the repeater halfway between your router and the dead zone
- Avoid placing near microwaves, cordless phones, or metal obstacles
- Use a quality power supply (cheap USB chargers can cause WiFi interference)
- Update firmware regularly for security and performance improvements
Use Cases
Perfect for:
- Extending WiFi to a garage, shed, or workshop
- Improving coverage on a different floor
- Reaching outdoor areas (patio, garden, driveway)
- Temporary event networking
- RV/boat WiFi extension
- IoT device connectivity in remote corners
Power Options
USB Power (Standard):
- Any 5V USB power adapter or power bank
- Easy to deploy, plug-and-play
Solar + Battery (Off-Grid):
- 5V solar panel (5W) + USB battery bank
- Great for remote installations (sheds, gates, etc.)
PoE Splitter (Professional):
- Add a PoE splitter (5V output) for ethernet-powered deployment
- Cleaner installation with single cable run
Related Gear
This project uses components from the favorite gear collection:
- ESP8266 Wemos D1 Mini — The heart of the repeater
- Mini360 Buck Converter — If using battery/solar power (step down to 3.3V or 5V)
A practical WiFi range extension project built with one of the most versatile microcontrollers available.